How to properly prepare the nail plate before extensions?

Nail extensions are a popular procedure that helps to create a beautiful and well-groomed manicure of any length and shape. However, the success and durability of the nail extensions largely depend on the proper preparation of the natural nail plate. If the preparatory stage is carried out incorrectly, it can lead to poor adhesion of the material, peeling nails and even damage to natural nails.
In this article we will tell you in detail how to properly prepare the nail plate before extensions to get a durable and beautiful result.
In this article we will tell you in detail how to properly prepare the nail plate before extensions to get a durable and beautiful result.
Why is it important to prepare the nail before extensions?
The nail plate is a natural base for the build-up. It must hold gel or acrylic well, so that the nail extensions are durable and look natural. Any dirt, greasy shine, cosmetic residue or dust from the nail file interfere with the adhesion of the material to the nail.
Proper preparation:
- Ensures perfect adhesion;
- Prevents bubbles and gaps;
- Protects the natural nail from damage;
- Increases the wear life of the nail extensions.
Stages of nail plate preparation before extensions
1. Removal of the old coating and degreasing
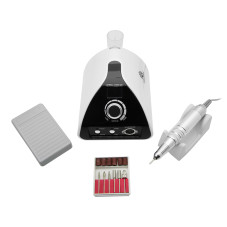
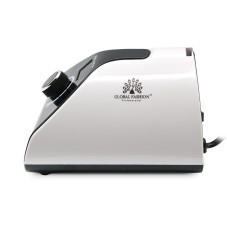
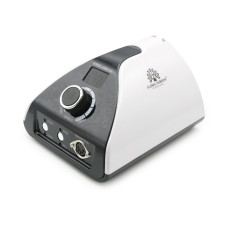
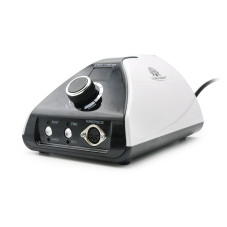
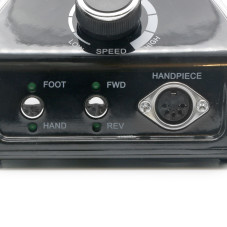
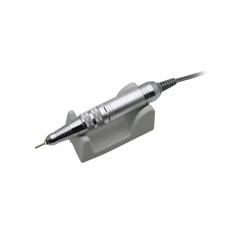
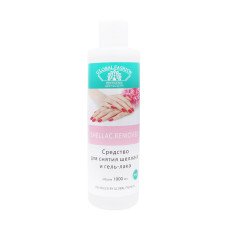
If there is old gel-lacquer on the nails, it must be carefully removed with a special machine or gel-lacquer remover. Then be sure to degrease the nail plate with a special degreaser - this will remove residual oils and dust, ensuring perfect preparation for further procedures.
90 bought
ID: 11060
Free delivery +
903 MDL
-14%
36 bought
ID: 11067
93 MDL
-14%
2. Cuticle treatment
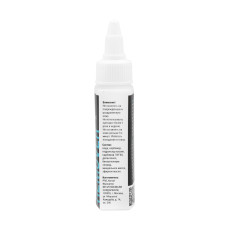
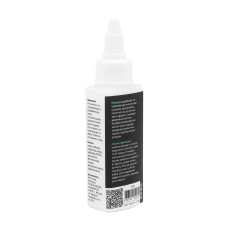
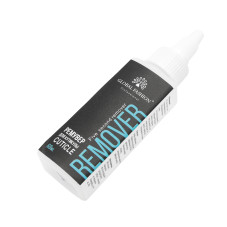
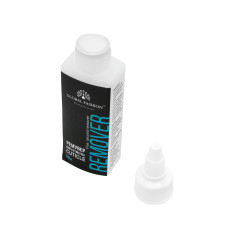
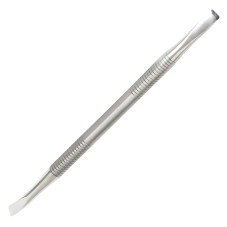
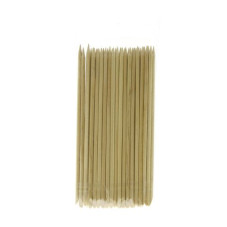
For a neat and aesthetic result, you need to push back or remove excess cuticle. This is usually done using an orange stick, a pusher or special cuticle softening products (remuver). It is important not to traumatise the skin and nail bed.
3. Matting the nail surface
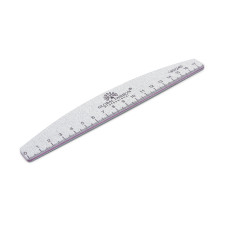
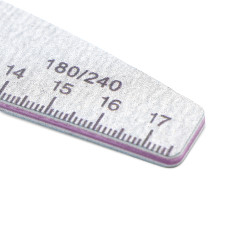
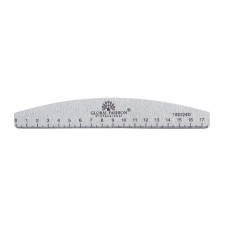
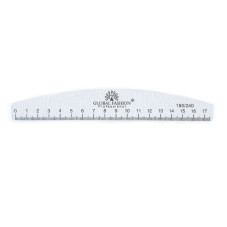
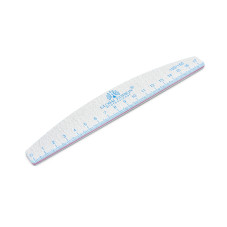
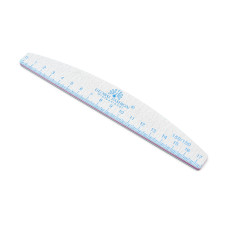
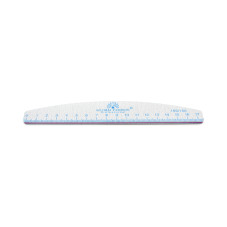
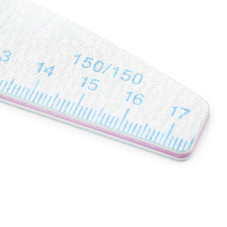
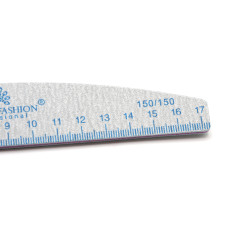
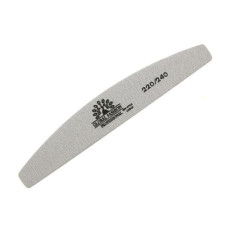
The surface of the nail should be carefully buffed - a coarse file or a file with 150/180 grit is suitable for this purpose. It is important to make all movements in the same direction to avoid damage. This helps to improve the adhesion of the material to the nail. It is important not to overdo it - grinding too aggressively can weaken the nail plate.
377 bought
ID: 18005
12,04 MDL
-14%
4. Degreasing
After matting, the nail is degreased again to remove dust and grease residues. The nail plate must be completely dry and clean before applying the base.
5. Application of primer (if necessary)
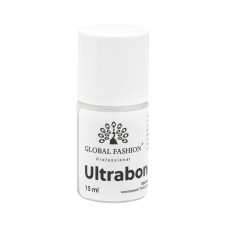
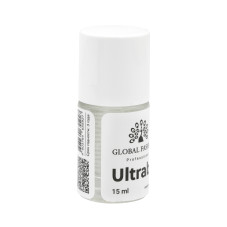
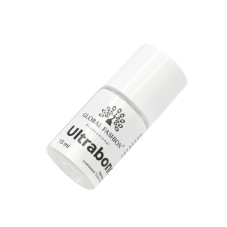
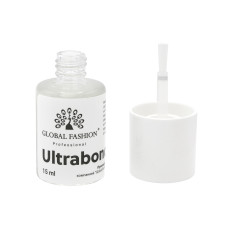
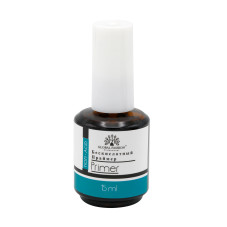
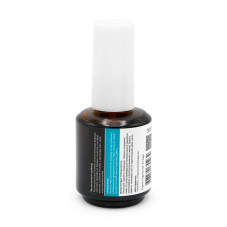
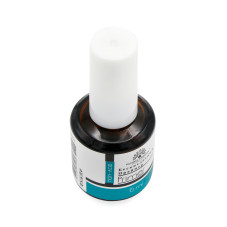
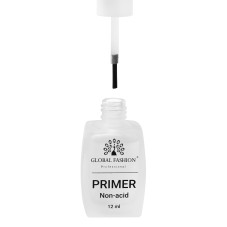
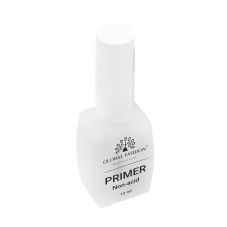
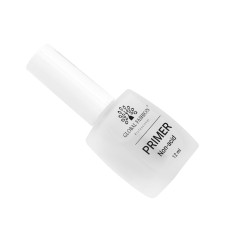
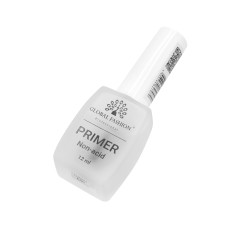
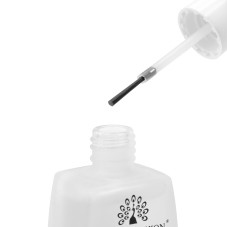
A primer is a special product that ensures a firm adhesion of the coating to the nail plate. It is especially recommended for problem nails: oily, thin, delicate, prone to splitting. The primer is applied in a thin layer and dries in the air, preparing the nail for the application of the main material and significantly prolonging the stability of the manicure.
(5)
80 MDL
2604 bought
ID: 3650
69 MDL
-14%
Tips for perfect nail preparation
- Use quality tools and materials.
- Work carefully so as not to damage the nail bed and cuticle.
- Do not ignore the degreasing stage - it is one of the important ones.
- If your natural nails are too thin or damaged, it is better to undergo a strengthening course before extensions.
- Work in a ventilated room and use hand protection.
Proper preparation of the nail plate before extensions is the key to a beautiful, durable and long-lasting manicure. Do not neglect this stage and pay attention to every detail so that your work will please you and your clients.
Read also: How to easily and beautifully make a marble manicure at home - step-by-step instructions and tips
Published: 19.06.2025 11:38
Times Read: 984
2604 bought
ID: 3650
69 MDL
-14%
725 bought
ID: 1832
69 MDL
-14%
1217 bought
ID: 2003
69 MDL
-14%
1326 bought
ID: 3658
112 MDL
-14%
