How to shorten acrylic nails at home: step-by-step guide

Acrylic nails look stunning, but sometimes their length can become inconvenient. If you want to shorten your acrylic nails, you don’t necessarily have to go to a salon. By following simple guidelines, you can safely and neatly adjust the length at home.
What you’ll need:
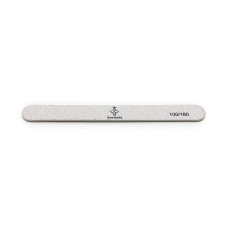
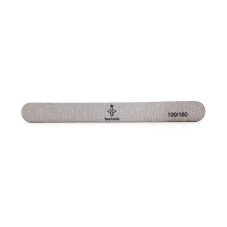
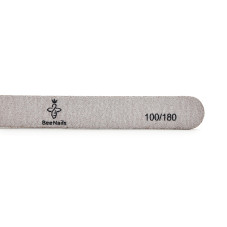
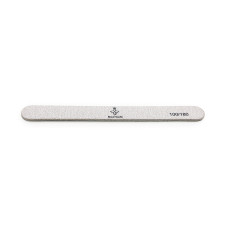
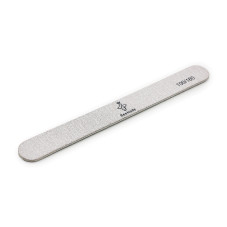
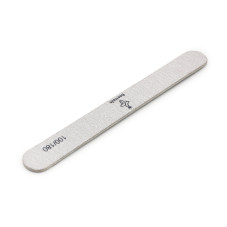
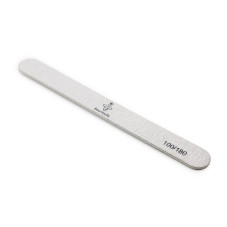
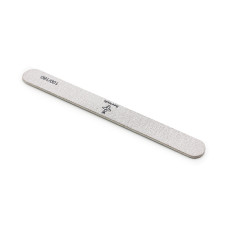
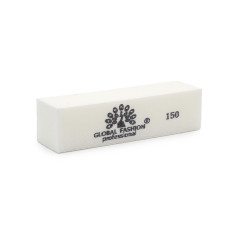
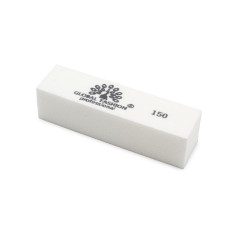
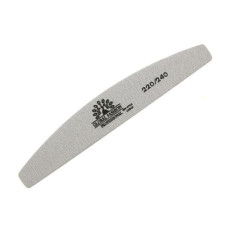
- Nail file with 100/180 grit;
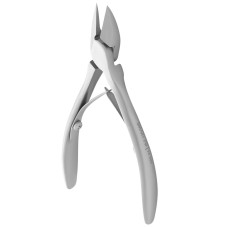
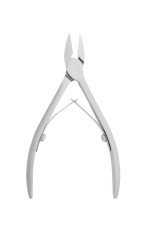
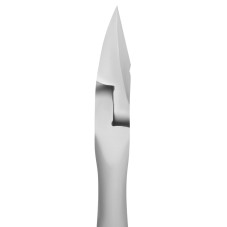
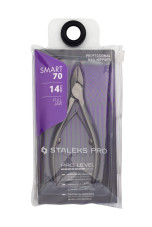
- Straight nail clippers;
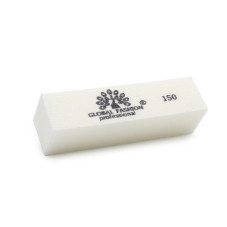
- Buffer.
What you’ll need:
- Nail file with 100/180 grit;
- Straight nail clippers;
- Buffer.
How to shorten acrylic nails
1. Carefully remove small sections of acrylic alternately from each side of the nail using the clippers. Cut the nails gradually until the edges meet. Don’t try to remove the entire nail at once — this may cause cracking or breaking of the acrylic.
2. File the nail tips by gently angling the file toward the free edge. After filing, remove any excess thickness at the end of the nail for a neater and smoother finish.
3. File and buff the nails. That’s it — now you have the perfect nail length that feels comfortable!
How to Safely Remove Acrylic Nails at Home
If you want to not just shorten your acrylic nails but remove them completely, try this effective at-home method that will not only help you get rid of the acrylic but also strengthen your natural nails.
Pour warm water into a cup, add 15 drops of argan oil and a bit of liquid soap. Soak your fingers in the solution for 15–20 minutes. After this soak, the acrylic will soften, making it easier to remove. If the result isn't sufficient, repeat the process and soak your fingers for another 10–15 minutes.
Published: 23.07.2025 08:15
Times Read: 803
2604 bought
ID: 3650
69 MDL
-14%
725 bought
ID: 1832
69 MDL
-14%
1217 bought
ID: 2003
69 MDL
-14%
1326 bought
ID: 3658
112 MDL
-14%
