How to Do a Manicure at Home Yourself: Step-by-Step Guide, Tips, and Life Hacks
Whether you want to pick up a new creative hobby or simply save money, doing your nails at home is a great solution. However, achieving a neat, salon-quality result isn’t always easy: the process requires time, patience, and a certain level of skill. Many people face common challenges — from applying polish evenly to trying to recreate intricate nail art. As a result, what should be an enjoyable routine can sometimes turn into a real struggle.
The good news is that, like any skill, mastering at-home manicures comes with practice. Over time, your movements become more confident, your technique more precise, and your polish application increasingly neat and professional.
To speed up this process and avoid common mistakes, we’ve put together tried-and-true tips and beauty hacks that will help you achieve flawless results at home. Keep reading to discover all the secrets to a perfect manicure.
What You’ll Need
If you want your at-home manicure to last as well as a salon one, it’s important to choose the right tools and products. A basic kit should be simple yet well thought out—just eight essential items.
For beginners, the ideal set includes: a nail file, a buffer, a cuticle pusher, nail clippers (use them carefully!), a nail dehydrator or cleanser, a quality base coat, and a top coat.
Special attention should be given to cuticle oil—it’s a true must-have for healthy, well-groomed nails. Hand cream can be a nice bonus if you want to add a bit of spa care and finish the process with a feeling of comfort and self-care.
When choosing nail polish, it’s especially important to pay attention to the finish — it sets the final style of your manicure. There are various options: clear, matte, jelly, chrome, or pearlescent. If you’re unsure which to choose, consider the effect you want: for a bright and festive look, glitter polishes are ideal, while for a trendy, modern manicure, chrome or jelly finishes are a great choice.
How to do a manicure on yourself
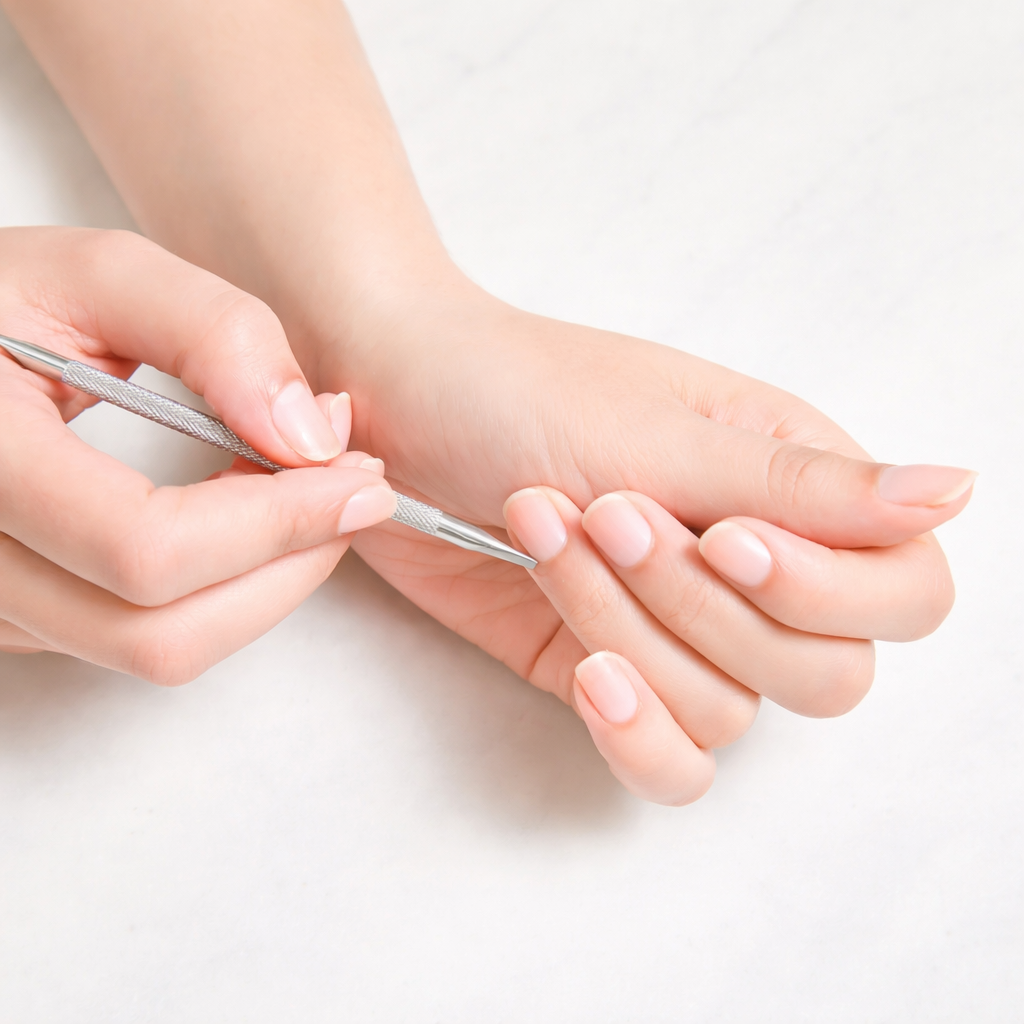
1. Prepare your nails . For a perfect nail polish application, start with a clean base. First, gently push back the cuticles, then soak your nails in warm, soapy water. This not only removes dirt but also softens the cuticles, making them easier to work with.
After softening, carefully remove dead skin using cuticle nippers or a specialized cuticle remover. Note: dead skin usually has a white appearance—use this as a guide to avoid cutting live tissue.
Next, shape your nails: trim and file them in one direction to prevent splitting. Afterward, soak a cotton pad in acetone and wipe the nail surface to degrease and remove any remaining oils. If desired, you can use a non-acetone nail polish remover. Degreasing your nails before applying any product helps prevent oils from being sealed into the nail plate and significantly improves the longevity of your manicure.
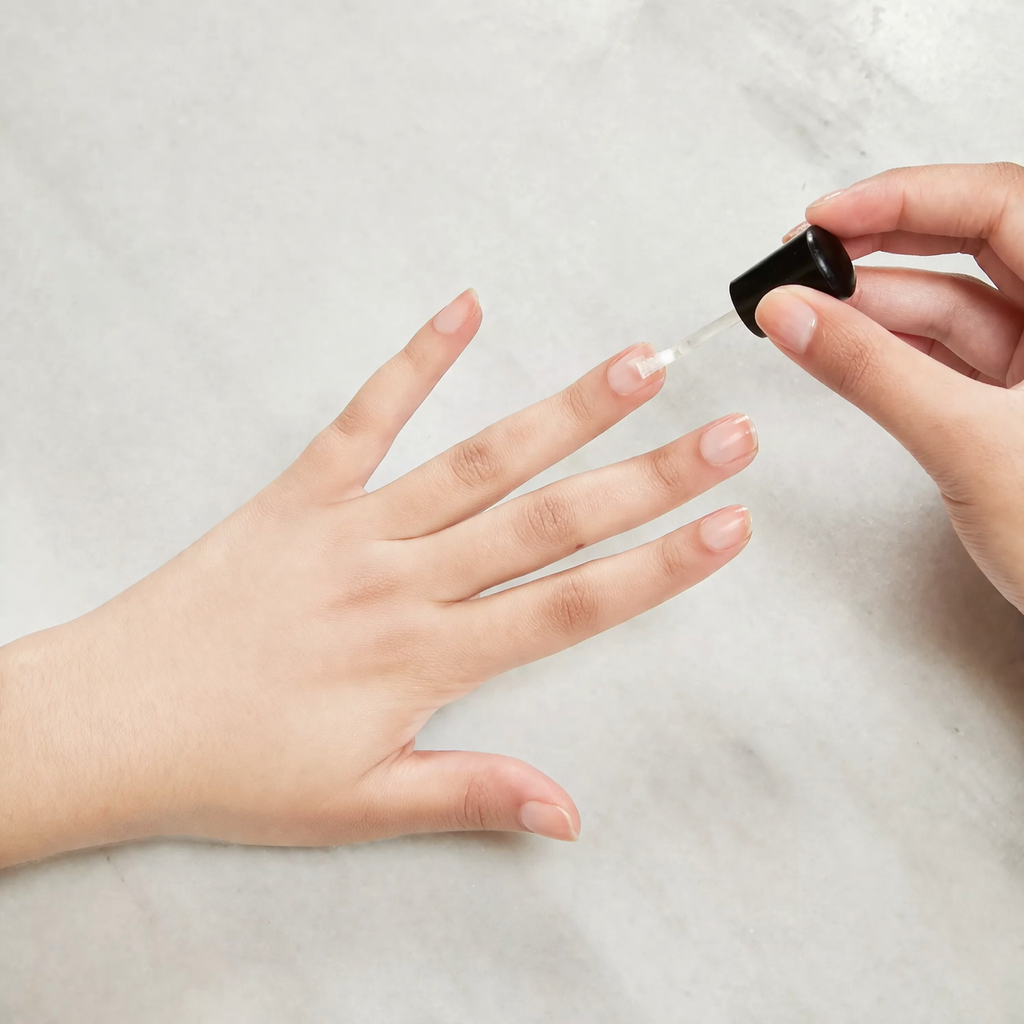
2. Apply the base coat
. Starting with a base coat is extremely important. It acts as a protective layer between your natural nail and any subsequent polish—whether regular nail polish or gel polish. Additionally, a base coat helps extend the longevity of your manicure. Apply it in a thin, even layer, then wait a few minutes before applying colored polish. If you’re using gel polish, the base coat should be cured under a lamp.
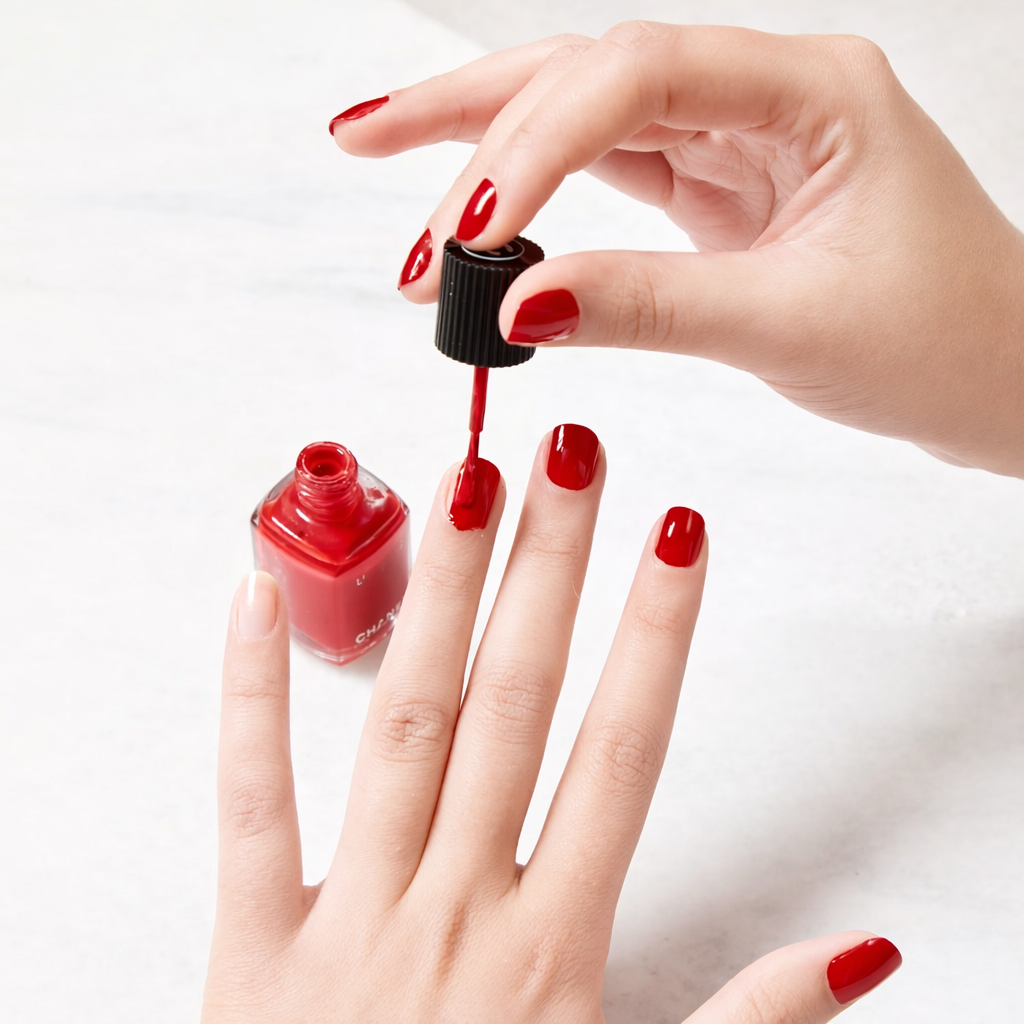
3. Paint your nails . After lightly tapping the brush on the edge of the nail polish bottle, use the “three-stroke” method. Swipe the brush from the cuticle to the tip of the nail in one smooth motion down the center of the nail plate, then carefully repeat on the left and right sides.
It’s important to apply thin layers and allow each one to dry completely. Some shades have a denser coverage, so a third layer may be needed to achieve a perfectly even color. Keep a fine brush on hand for precise edge clean-up.
If you plan to create nail art, do it only after the polish has dried but before applying the top coat.
TIP: Before using, roll the polish bottle between your hands for 15–20 seconds. This helps mix the formula evenly and prevents bubbles that can lead to uneven coverage.
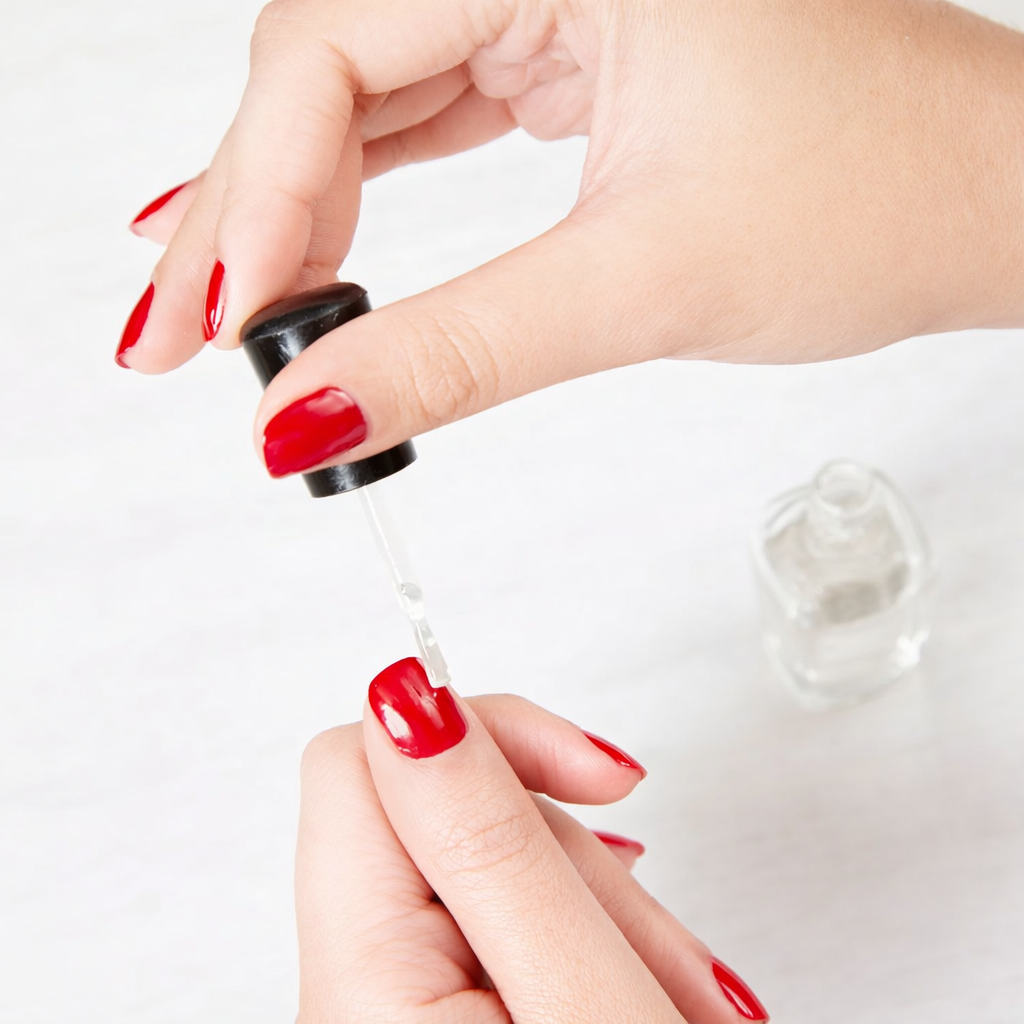
4. Apply the top coat . Once you achieve the desired shade, seal it with a top coat — a clear layer that protects your nails from chipping and gives them a glossy shine. We recommend using the “three-stroke” method: first, brush down the center of the nail, then carefully cover the sides, and finish by painting the free edge. This technique ensures an even application and significantly increases the manicure’s durability.
Tips for Long-Lasting Manicure
Post-manicure care plays a key role in how long your polish lasts and how well your design holds up, so it’s important to pay attention to your nails. It’s recommended to use cuticle oil regularly — it will become your “new best friend” after every manicure. Apply it daily, and don’t forget a quality hand cream to keep your skin soft and hydrated.
Even non-acetone nail polish removers can dry out your nails, so it’s especially important to keep them moisturized. In addition, it’s worth reviewing some everyday habits. For example, when cleaning or washing dishes, always wear gloves—excessive moisture can significantly reduce the longevity of your manicure. Finally, it’s crucial not to peel off gel polish yourself. Trying to remove it forcefully can damage the natural layers of your nails, weakening them and negatively affecting their health, which in turn impacts the durability of your next manicure.
Following these simple rules will help keep your nails healthy and your manicure looking perfect for a long time.
How to Handle Common Nail Painting Issues
When painting your nails, small difficulties often arise, but there are proven methods to deal with them easily:
• Dark Shades: After using dark nail polish, nails can sometimes retain a slight tint. However, a good-quality base coat reliably prevents staining of the nail plate.
• Streaks: When applying multiple layers of polish, light streaks or unevenness may appear — don’t worry, this is completely normal. Start with a very thin first layer, leaving one side of the brush almost empty. This technique gives you more control and prevents polish from spreading onto the cuticle. The thinner the layer, the faster it will dry. If the first layer looks streaky, don’t rush to fix it immediately — attempts to even out the color at this stage usually make things worse. Trust the process: most colors become even after the second layer. If needed, confidently add a third thin layer for perfect, uniform coverage.
• Unsteady Non-Dominant Hand: It’s always helpful to keep a fine cleanup brush handy — it allows you to carefully remove excess polish from the skin around your nails or any spots where polish accidentally spread. This is especially useful when working with your non-dominant hand. Painting nails with your non-dominant hand can be tricky at first, but with practice, it becomes much easier and more precise.


 Global Fashion P-010")
 Global Fashion P-010")
 Global Fashion P-010")
 Global Fashion P-010")
 Global Fashion P-010")
 Global Fashion P-010")


")
")
")
")


")
")
")


 Global Fashion 15 ml")
 Global Fashion 15 ml")
 Global Fashion 15 ml")
 Global Fashion 15 ml")
 Global Fashion 15 ml")
 Global Fashion 15 ml")
 Global Fashion 15 ml")

")
")
")
")
")
")
")
")
")
")


")


