How to Do a Perfect Pedicure at Home That Looks Just Like a Salon One: 8 Life Hacks for Flawless Results

In the summer season, pedicures become especially popular, and salon prices, to put it mildly, aren’t very pleasing. But if you want to save money without compromising quality, you can definitely do a pedicure yourself at home. In this article, we’ve gathered 8 simple and effective life hacks that will help you achieve results just as good as in a professional salon.
1. Proper nail trimming
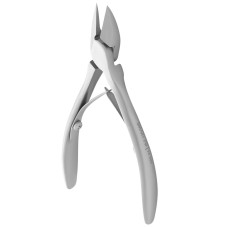
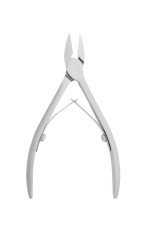
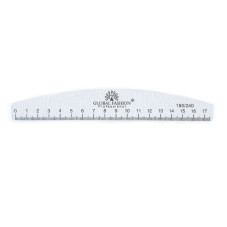
It doesn’t matter whether you use scissors, a nail file, or clippers to trim your nails — what’s important to remember is this: never round off or cut the corners of your nails. This is especially true for toenails — they should be cut straight across or with a slight curve, as short as possible. After trimming, carefully smooth the edges with a file to remove any sharpness. The corners should remain untouched — this is crucial if you want to avoid the problem of ingrown nails.
377 bought
ID: 18005
12,04 MDL
-14%
2. Perform treatment on dry skin
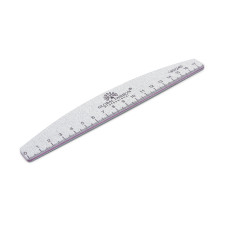
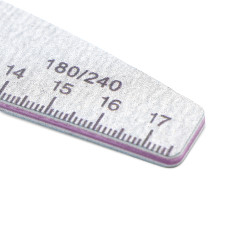
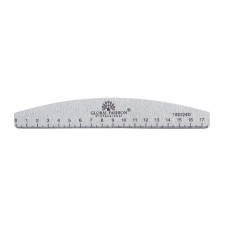
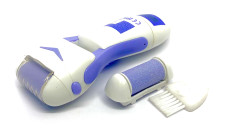
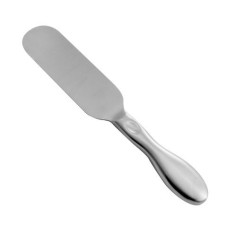
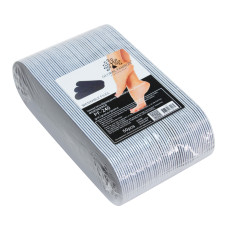
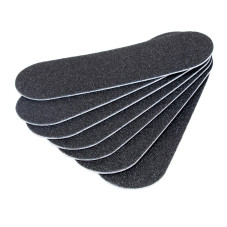
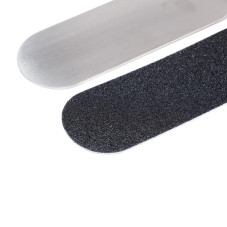
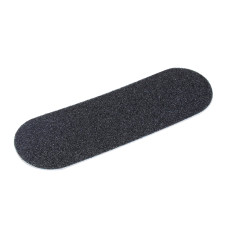
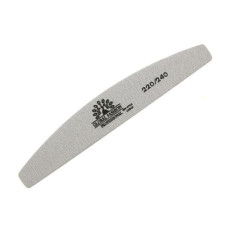
The skin becomes more elastic when wet, so exfoliating rough areas loses effectiveness. For proper foot care, use a metal pedicure file on dry skin — without prior steaming or moisturizing. First, work over the rough areas with the coarse side of the file, then use the soft side. Finish the procedure by filing with a ceramic-coated file. Avoid removing the callused skin down to the pink layer — this can cause pain while walking and cause your usual shoes to rub uncomfortably.
535 bought
ID: 6231
69 MDL
-14%
151 bought
ID: 11191
155 MDL
-14%
3. Use a peeling treatment
The skin on the soles is the thickest on the body, so it requires special care. After using the file, it is recommended to apply a fruit acid peeling. These acids effectively soften the rough skin, making it easier to remove during the next treatment.
4. Tone the skin
To tone the skin, prepare a mixture of fresh lemon, eucalyptus essential oils, mineral salt, and mint. Adjust the proportions to your liking, but add no more than 3–5 drops of essential oils. Stir this blend into 3 liters of warm water and soak your feet in it for 15–20 minutes. This procedure will relieve fatigue, reduce swelling, and, importantly, help prevent excessive sweating and unpleasant odor.
5. Apply nourishing cream to the feet
Apply a thick layer of nourishing cream to your toes and the skin of your feet, gently massage, then relax and rest your nails on a pillow for 15–20 minutes.
6. Remove the cuticle
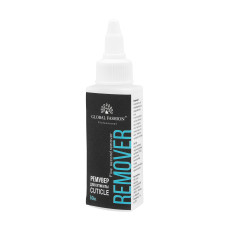
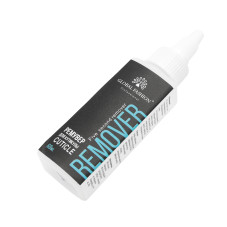
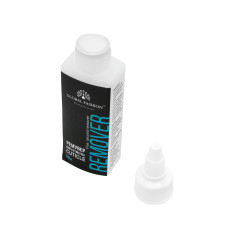
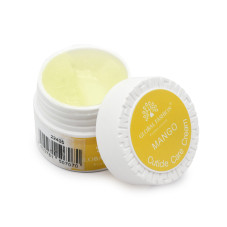
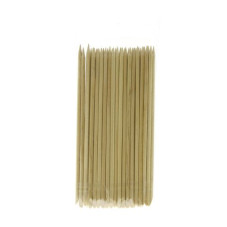
Using a special product (remover), remove the cuticle. Choose the product based on reviews or the one your nail technician uses. Apply the remover to the cuticle and gently wait for the time specified in the instructions. After that, carefully remove the cuticle using an orange stick. Once the process is complete, take a cotton pad soaked in acetone and thoroughly wipe the nails. This will degrease the nail plates and prepare them for applying polish.
7. Applying the polish
Before applying the polish, place a drop in the center of the nail. Gently spread it first towards the cuticle, then towards the free edge of the nail. This method helps prevent the polish from spreading and ensures an even, neat coverage. If polish gets on the skin accidentally, don’t worry — while it’s still wet, carefully remove the excess with an orange stick.
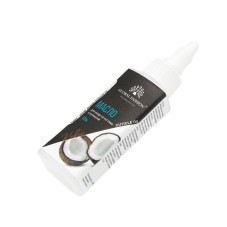
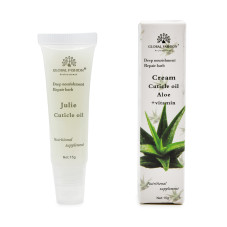
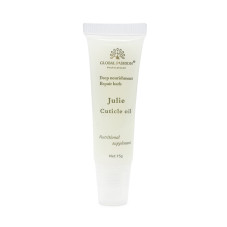
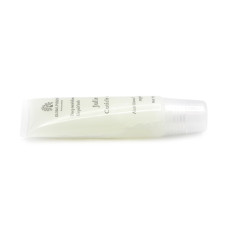
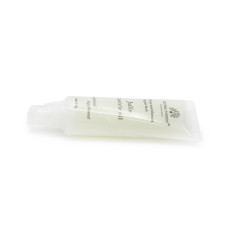
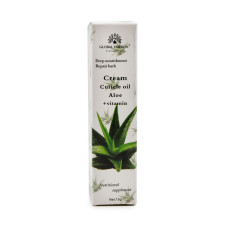
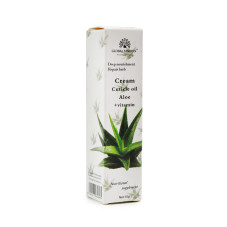
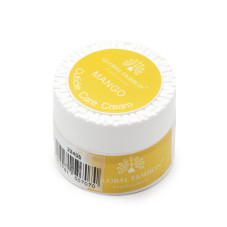
8. Apply Cuticle Oil
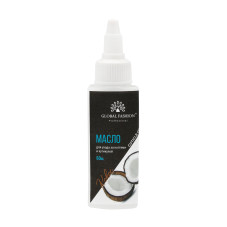
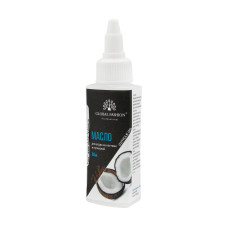
At the end of the procedure, after the polish and top coat have completely dried, apply cuticle oil. This will help slow down cuticle growth and keep them looking neat and beautiful.
(4)
60 MDL
Read also: How to make your home pedicure last for a long time: 3 simple and effective tips to make it last better than a salon pedicure
223 bought
ID: 8249
52 MDL
-14%
Read also: How to make your home pedicure last for a long time: 3 simple and effective tips to make it last better than a salon pedicure
Published: 17.06.2025 08:40
Times Read: 1386
2604 bought
ID: 3650
69 MDL
-14%
725 bought
ID: 1832
69 MDL
-14%
1217 bought
ID: 2003
69 MDL
-14%
1326 bought
ID: 3658
112 MDL
-14%
