How to Make a Moisturizing Face Cream at Home: Recipes for Different Skin Types
Moisturizer is an essential part of any daily skincare routine, but that doesn't mean it has to cost a fortune. Luxury skincare products are certainly a pleasure to use, but more affordable alternatives can be just as effective. The key is choosing the right ingredients. And you don't have to look for them only in beauty stores — you may already have some in your kitchen. Making your own moisturizer at home is surprisingly easy, as most recipes call for simple ingredients you probably already have on hand.
Below are three easy homemade moisturizer recipes tailored to different skin types.
If you have dry or combination skin, consider adding a simple restorative moisturizer to your skincare routine. A good moisturizer should work quickly and effectively: just a small amount should leave your skin feeling noticeably more hydrated and nourished. For your homemade cream, use shea butter as the base, thanks to its restorative, protective, and skin-conditioning properties.
It helps address a wide range of skin concerns. You can also add cocoa butter, which deeply moisturizes and softens the skin. When heated, it melts into a lightweight oil that absorbs quickly. To make the blend suitable for dry and combination skin, add a little olive oil. It gives the formula a lighter consistency, helps it absorb more easily, and complements the other ingredients.
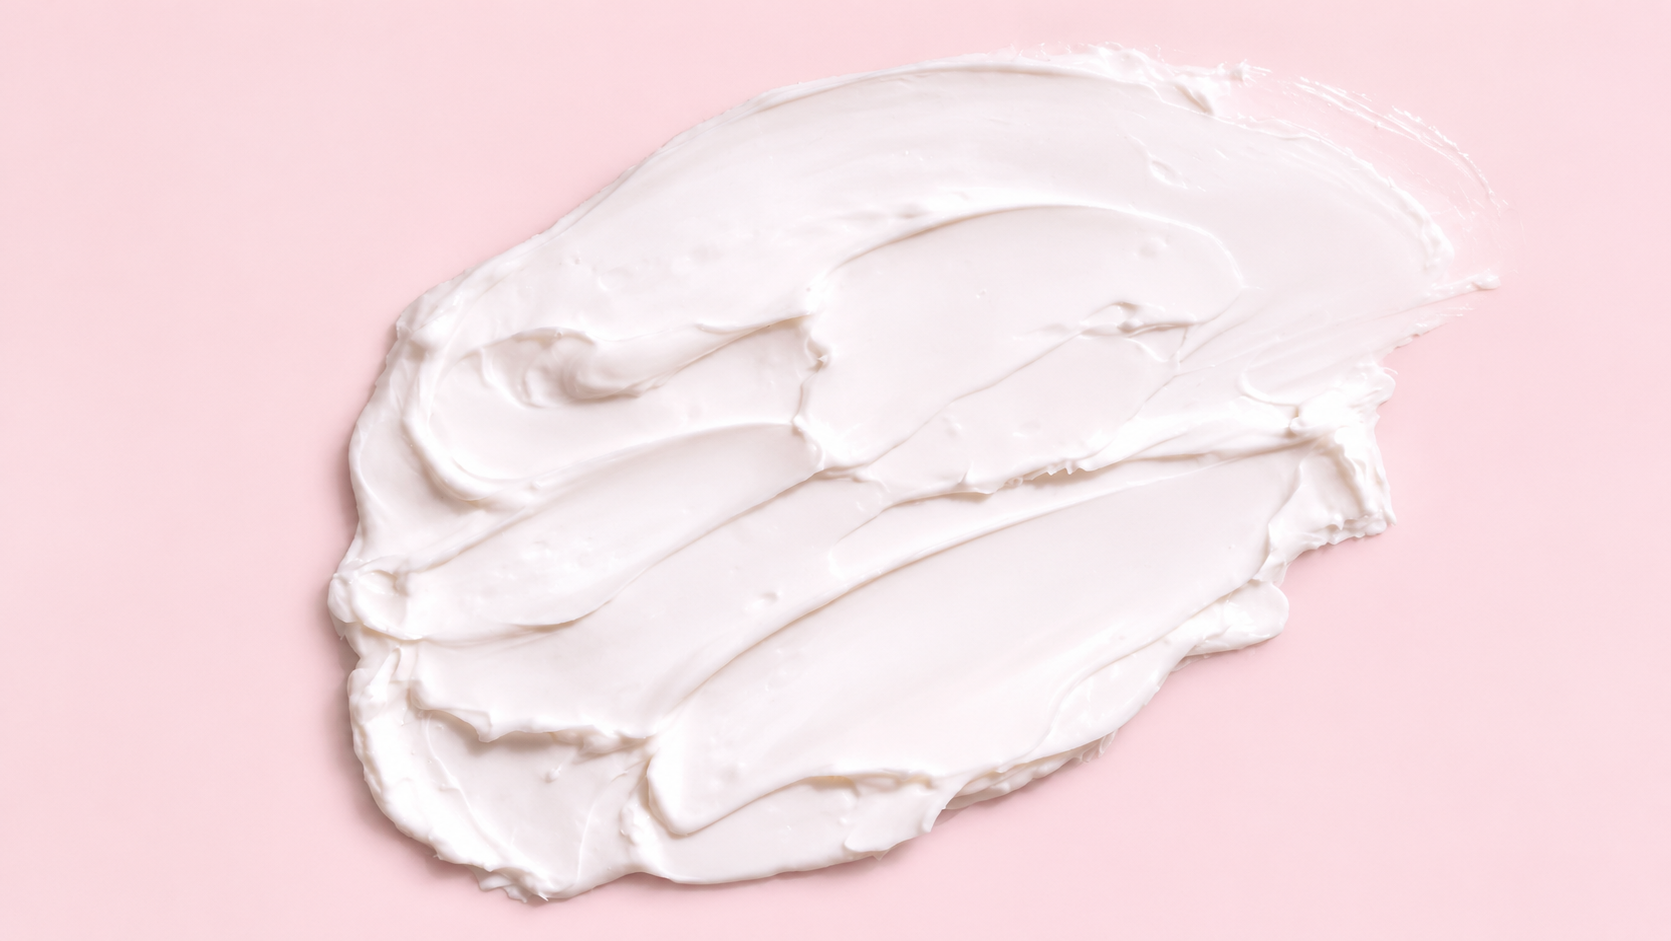
The result is a versatile moisturizer with a luxurious texture that delivers intense hydration while providing comprehensive skincare benefits.
Ingredients:
• 1/4 cup shea butter • 1/4 cup cocoa butter • 2 tbsp olive oil
Instructions:
1. Melt the cocoa butter on the stovetop or in the microwave. This should only take a few seconds, so keep a close eye on it and remove it from the heat as soon as it melts.
2. Add the remaining ingredients to a bowl or saucepan and mix thoroughly.
3. Let the mixture cool completely. To speed up the process, place the container in the refrigerator until the mixture solidifies. This usually takes less than an hour.
4. Adjust the consistency. Once the mixture has set, stir it again until it reaches a smooth, creamy, butter-like texture.
5. Transfer the moisturizer to a clean jar. This amount should last for 6–8 months. However, it is best to use it within this period, as dipping your fingers into the product can introduce bacteria. Using a clean cosmetic spatula or spoon can help reduce contamination.
If you have combination skin with oily areas, particularly around the T-zone, dehydration or overly harsh cleansers may be contributing factors. Natural oils can help support the skin's moisture barrier and restore its natural balance, which is exactly what you want to achieve.
For your skincare routine, experts recommend lightweight hazelnut oil, which has astringent properties; avocado oil, which nourishes the skin and supports collagen production; as well as sesame oil and jojoba oil. The latter two have lightweight textures and may help limit bacterial growth on the skin's surface.
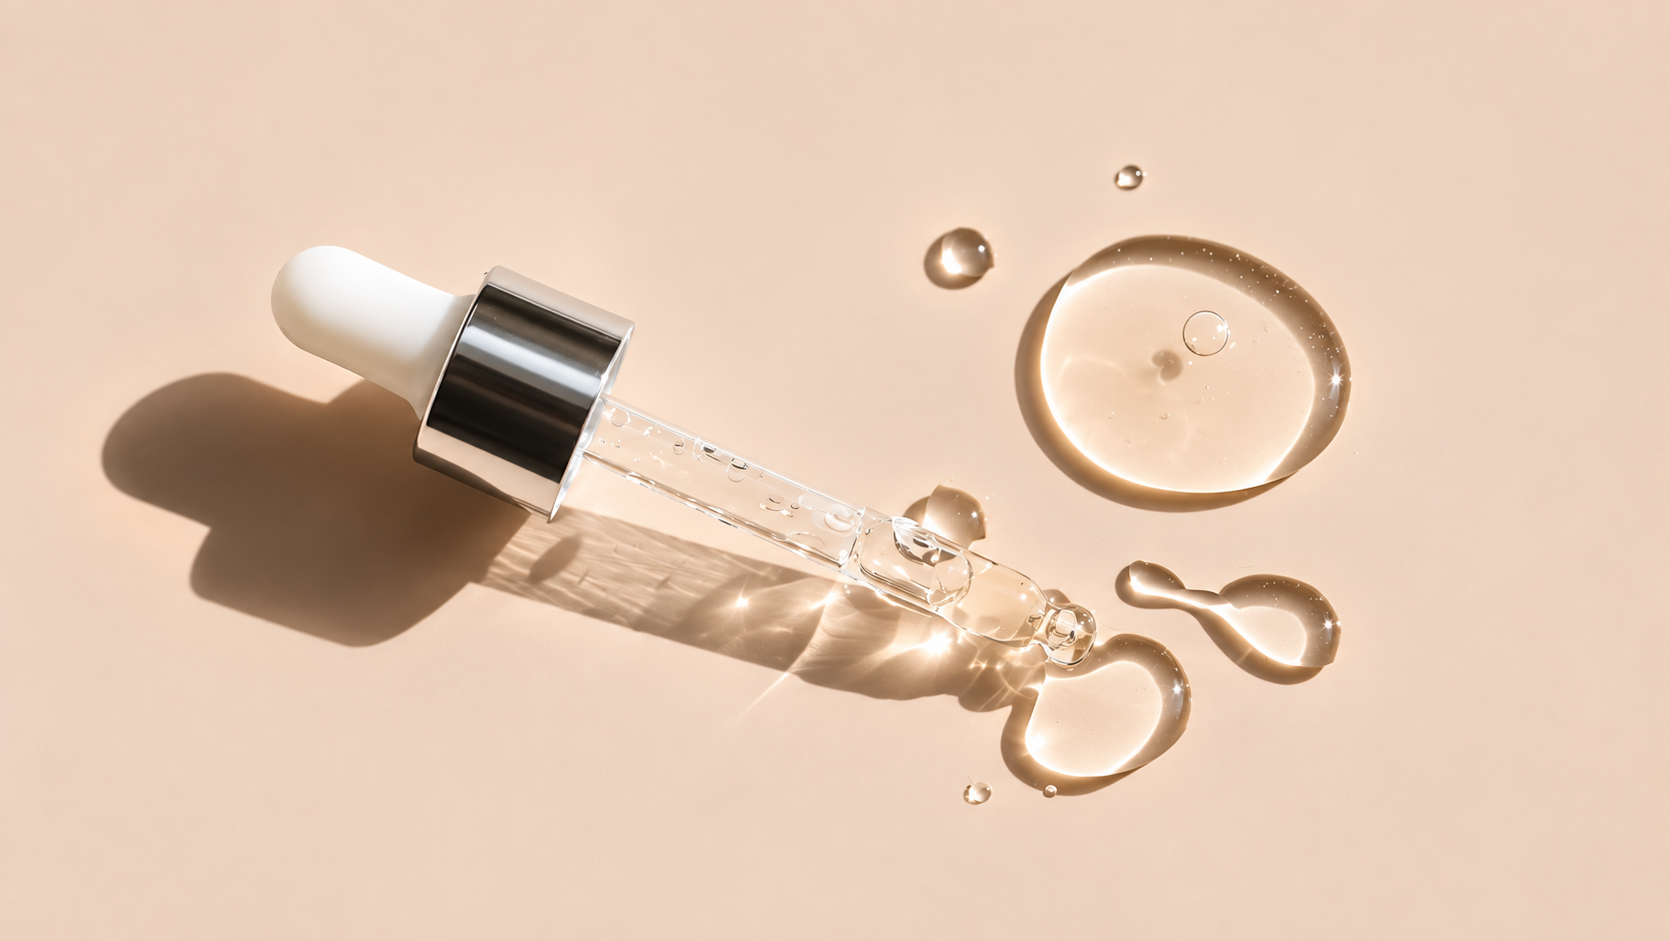
1. Mix the oils. Pour all three oils into a small dropper bottle, secure the cap, and shake until thoroughly combined.
2. That's it! The mixture should provide approximately 12 applications. If you'd like to make a larger batch, simply double the quantities. Since this formula is an oil rather than a cream or solid product, the risk of bacterial contamination may be lower. A dropper also allows you to dispense the product without touching it with your hands. Nevertheless, it is best to use the mixture within six months of preparation.
3. Apply it correctly. Massage the blend into your face using gentle circular motions to help distribute the oils evenly. Evening is the ideal time to use it. Before applying makeup, it's best to wash it off. If you prefer a dewy, hydrated finish, just one or two drops may be enough. Gently pat them into your skin and blot away any excess with a towel.
3.For Oily and Acne-Prone Skin: Antibacterial Hydrating Facial Mist
Facial Spray for Problematic Skin Skin that experiences frequent breakouts can be particularly sensitive, so any homemade skincare product should be as gentle as possible.
Choosing the right texture is equally important. Hydration doesn't necessarily require a rich cream, lotion, or oil. Instead, consider a lightweight botanical hydrosol.
Plant-based hydrosols are ideal for this purpose. You can mist them onto your skin throughout the day whenever needed. They can help refresh and hydrate the skin while providing a soothing, toning effect without adding a heavy layer of product to breakout-prone areas.
1. Combine the ingredients. Pour everything into a spray bottle and shake well.
2. That's it! Use the mixture within six months. Over time, it may lose its effectiveness and become a breeding ground for bacteria. When should you apply the hydrosol? Use it whenever needed throughout the day.
3. Spray it onto your skin after cleansing or whenever you feel your skin needs a refreshing boost. This hydrating blend can help soothe and refresh acne-prone skin.