How to Do a Marble Manicure at Home: Step-by-Step Guide

Type #watermarblenails into Instagram and you’ll be greeted with nearly 70,000 variations of manicure designs that are impossible to look away from and instantly make you want to recreate them.
Want to create a marble manicure at home? We’ve got you covered!
Ready to try it? Read on in our new article and learn how to make a water marble manicure step by step on your own.
Want to create a marble manicure at home? We’ve got you covered!
Ready to try it? Read on in our new article and learn how to make a water marble manicure step by step on your own.
What is a water marble manicure?
This is a nail art technique where drops of polish are added to water, creating beautiful swirling patterns on the surface. The resulting design is then transferred onto the nail, forming a natural marble effect. The process is truly fascinating, and the combinations of shades are virtually endless.
Now that you understand the concept, you can prepare all the necessary materials and move on to the step-by-step application.
What you will need
• Nail file
• White polish for the base coat (this shade is used)
• Three polish shades to create the marble effect (your choice)
• A glass of room-temperature water
• Toothpick
• Nail polish remover
• Cleaning brush
• Top coat
• White polish for the base coat (this shade is used)
• Three polish shades to create the marble effect (your choice)
• A glass of room-temperature water
• Toothpick
• Nail polish remover
• Cleaning brush
• Top coat
How to create a water marble manicure at home
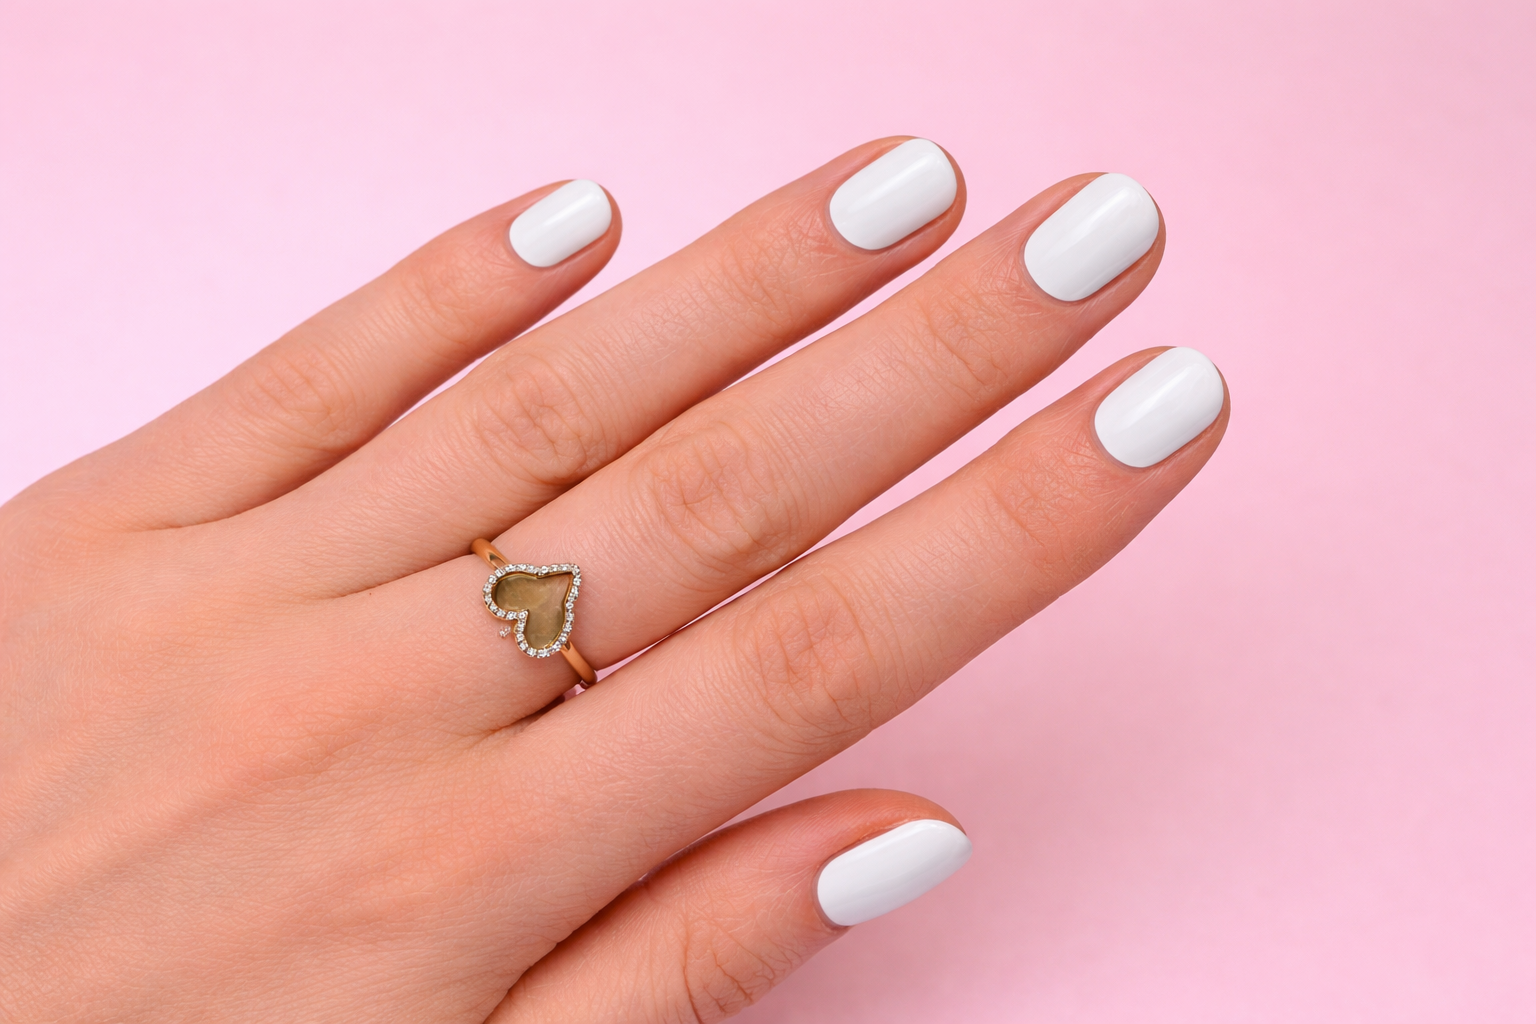
1. Nail preparation
As with any manicure, everything starts with thorough nail preparation. Remove the old coating, carefully file the free edge to achieve your desired nail shape, and gently push back the cuticles.
To maintain perfectly groomed cuticles, regularly push them back after a shower or bath and don’t forget about hydration — for example, using cuticle oil. Regular care helps keep nails looking neat and well-maintained.
If your cuticles require deeper care, use a cuticle exfoliator. This step helps gently remove dead skin and waxy buildup from the nail plate, allowing polish to apply more smoothly near the cuticle area, making the manicure look cleaner and last longer.
2. Apply the base color
After the nails are prepared, apply two thin coats of white polish and let them dry completely. This will create the perfect base for a water marble manicure.
3. Prepare the “water marble” design
After the nails are completely dry, drop a few shades of polish into a glass of room-temperature water.
4. Use a toothpick to create swirls in the polish
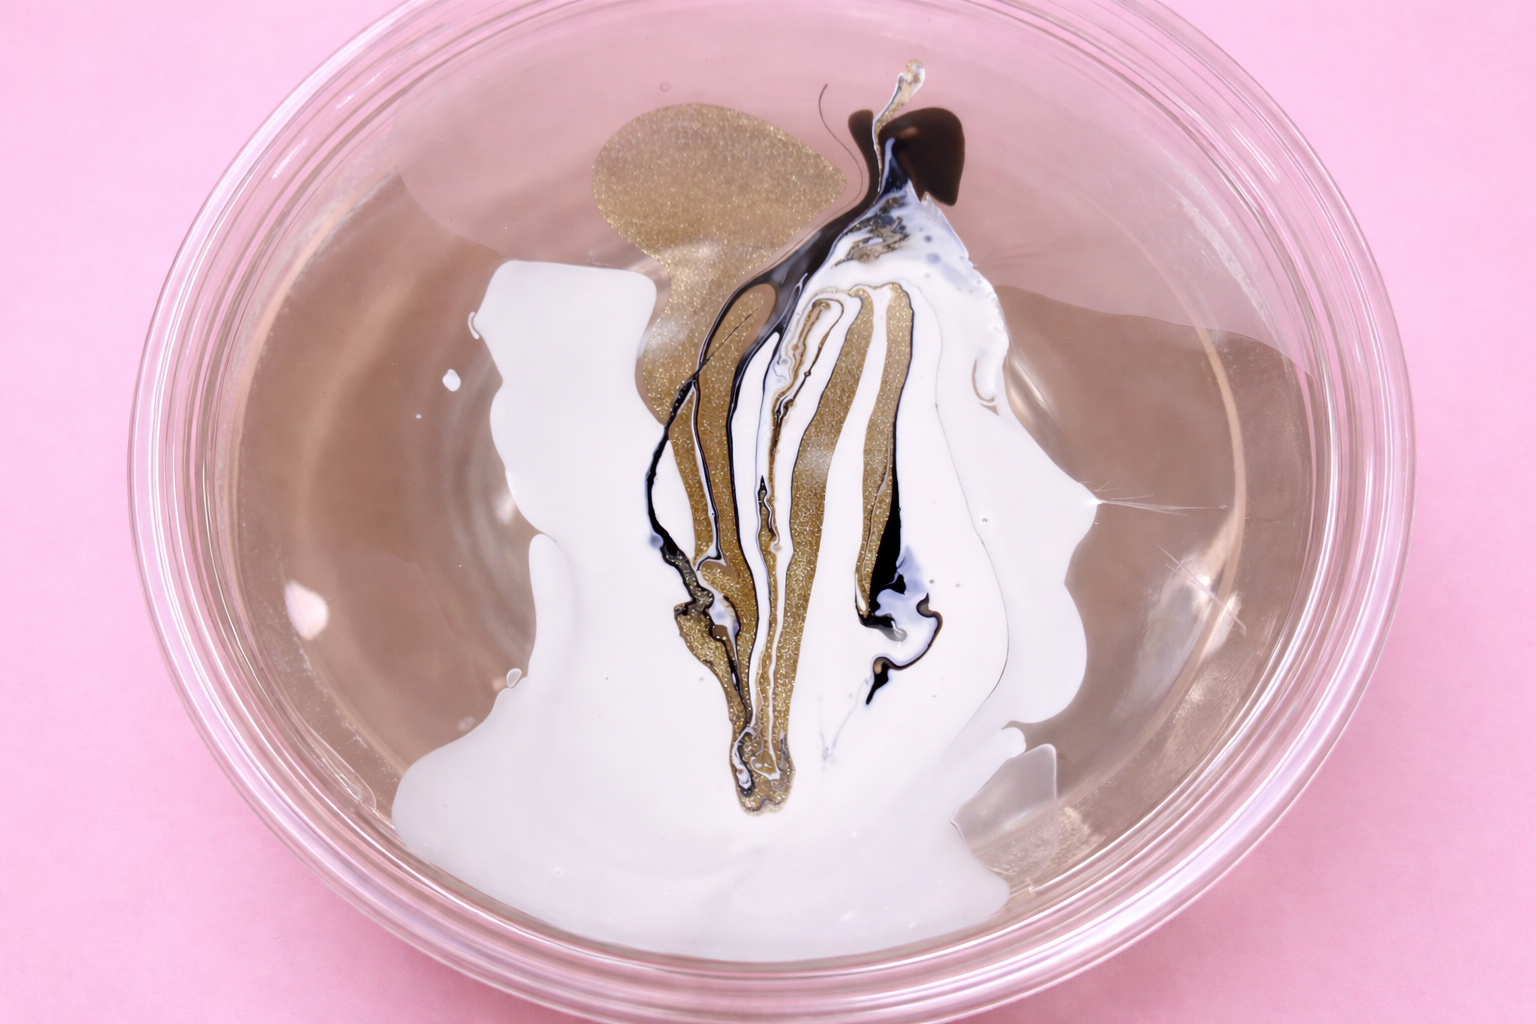
Now for the most interesting part: use a toothpick to create swirls in the polish directly on the surface of the water. This is exactly how the design will look on the nail, so keep swirling until you achieve your desired effect. And don’t forget: for the most beautiful patterns, the water should be at room temperature. In cold water, the polish sets too quickly, and the design simply doesn’t have time to form properly.
TIP: Although in this version we are using a neutral palette, you can create a water marble design using any three polish shades. For the most harmonious and neat result, it’s best to choose colors from the same color family—this way the transitions will look softer and more natural.
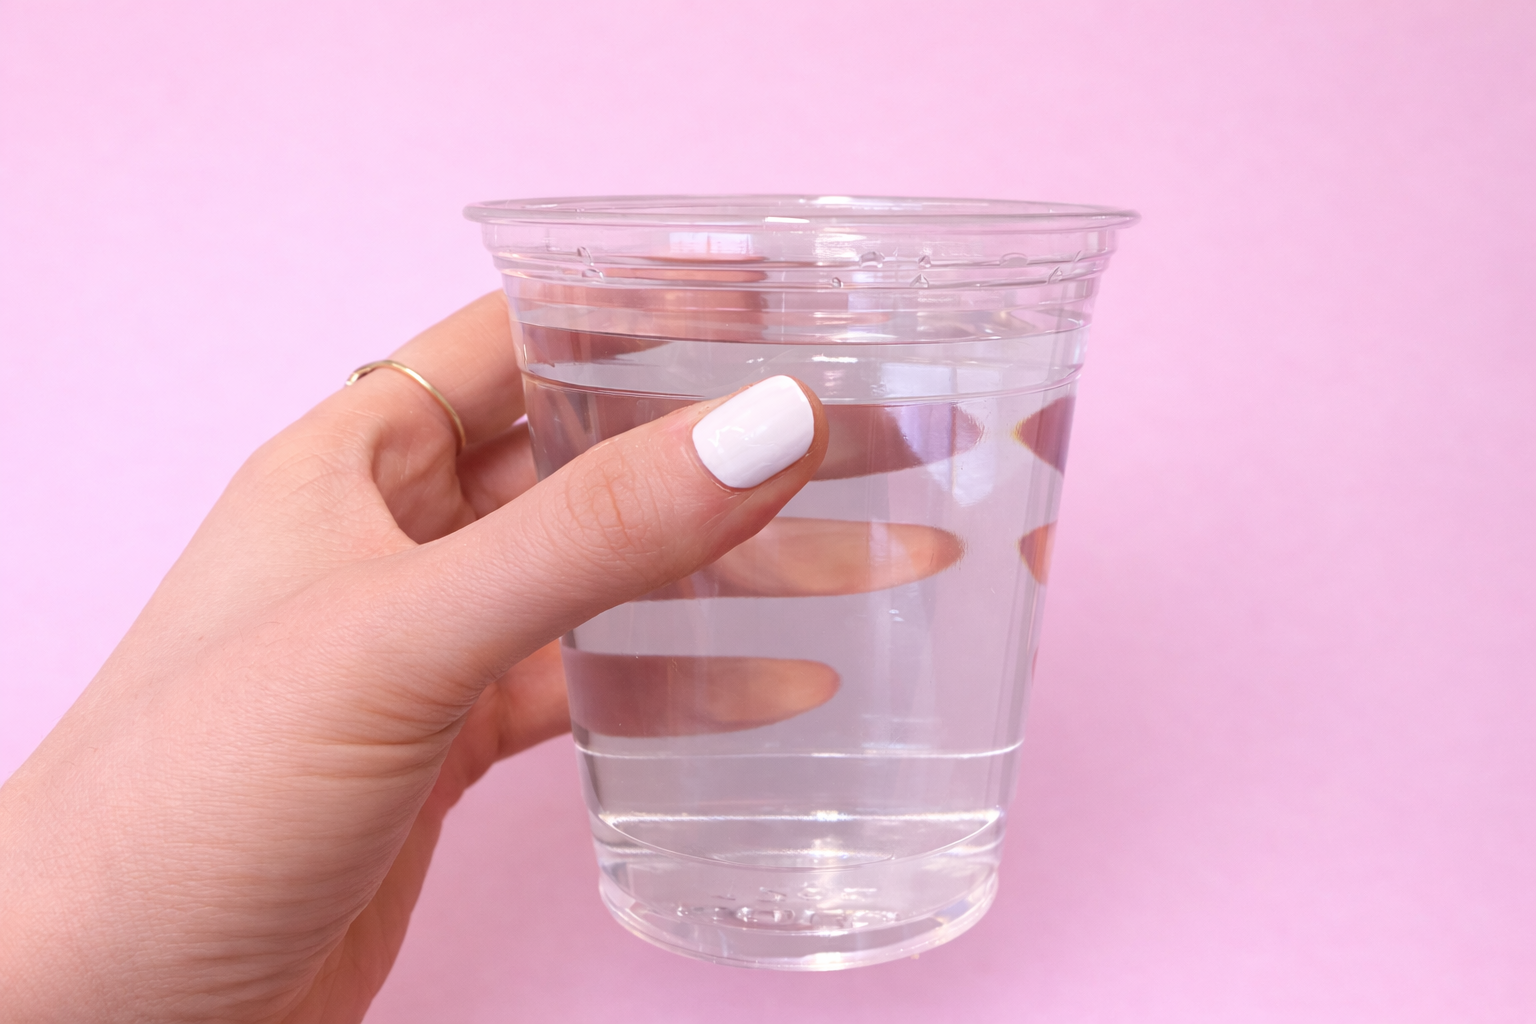
5. Dip your finger into the water
5. Dip your finger into the water
Once the design on the surface of the water is formed and looks the way you want, gently lower your finger into the water so that the nail fully “catches” the design. Wait a few seconds for the polish on the surface to slightly dry and set, then carefully remove your finger from the water. Repeat the procedure for each nail.
TIP: This is a rather “messy” technique, so it’s important to prepare the skin around the nail in advance. To make cleanup easier afterward, you can apply liquid latex around the nail or generously coat the skin with hand cream or cuticle oil. This barrier will prevent polish from sticking to the skin, making the process neater and much easier to finish.
6. Clean the edges
6. Clean the edges
After you finish coating all the nails and the polish has slightly dried, take a cleanup brush soaked in nail polish remover and carefully remove any excess product around the nail plate.
Since the process can be quite “messy,” we recommend using a cotton swab to remove leftover polish from the skin, and a cleanup brush for more precise and careful work around the cuticle area and sidewalls.
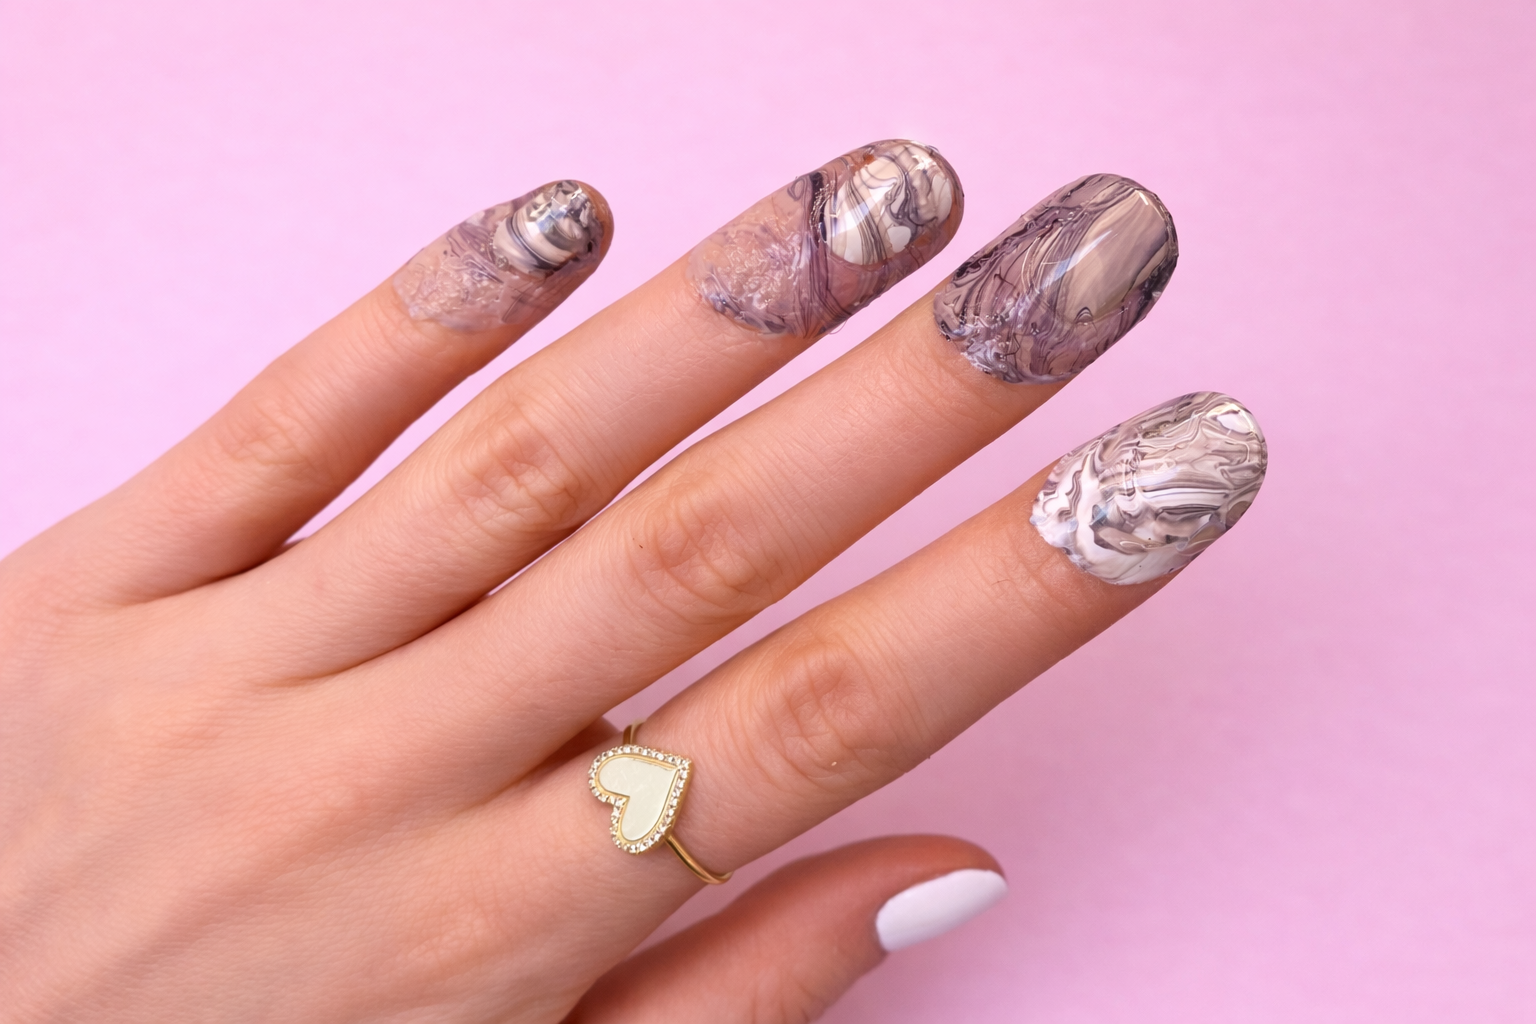
7. Finish by applying top coat
Once every nail looks perfect, apply a layer of top coat to seal the result and give your manicure a flawless shine — after that, the procedure is complete.
Alternative methods
If you’re not confident in the “water cup” technique, here’s a simpler way to recreate a watercolor effect using jelly polishes.
Watercolor nails have become especially popular recently because they are easy to create, particularly if you have jelly polishes. Unlike traditional opaque cream formulas, jelly shades provide a translucent, “glass-like” finish. They can be layered and blended, making them perfect for achieving a soft, dreamy watercolor effect on the nails.
After applying a base coat, start with a thin layer of a sheer nude shade and allow it to fully dry. Then take your first jelly color and gently “tap” it onto the nail plate. You can use the brush directly from the bottle, creating loose, artistic strokes.
While the first shade is still wet, add a second color and carefully blend them together to achieve smooth transitions. Repeat the process, layering different shades until you reach the desired watercolor effect.
To finish, cure or fully dry the design and seal it with a top coat for durability and a glossy finish.

")
")
")
")
")
")
")
")
")
")
")
")
Read also: How to Do a Manicure at Home Yourself: Step-by-Step Guide, Tips, and Life Hacks
Published: 14.04.2026 12:29
Times Read: 414
8128 bought
ID: 3678
")
")
")
")
120 MDL

")
")
")
1244 bought
ID: 2003


40 MDL
-50%
 Global Fashion 15 ml")
 Global Fashion 15 ml")
 Global Fashion 15 ml")
 Global Fashion 15 ml")
 Global Fashion 15 ml")
 Global Fashion 15 ml")
 Global Fashion 15 ml")
1379 bought
ID: 3658
")
")
")
")
")
")
")
")
")
")
130 MDL


